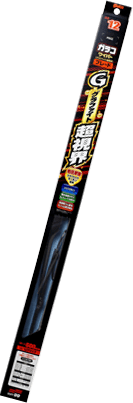
Smooth and stable wiping for super visibility!
Glaco Graphite Refill
High-grade natural rubber with excellent elasticity and adhesion to glass surfaces is used, and high-precision cutting realizes high wiping performance. Wiper surfaces are coated with a high-density graphite coating to provide quietness without squeal or judder even on glass surfaces coated with glass coatings.
- Hydrophobicity
- Wiping power
- Aesthetics
- Economy
Contents: 1
Glaco Graphite Refill Technology
- Smooth wiping
-

High-grade natural rubber with excellent elasticity and adhesion to glass surfaces is used, and high-precision cutting realizes high wiping performance.
- High-density graphite coating
-
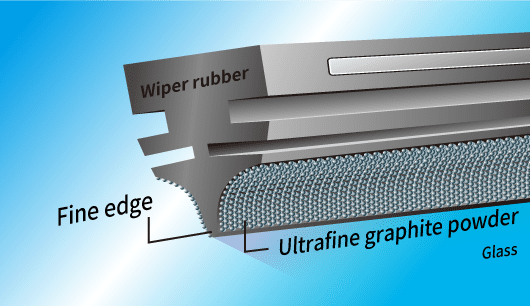
Graphite is a crystal of carbon, and is characterized by low frictional resistance. By coating the rubber surface with fine particles of graphite, friction with the glass surface is drastically reduced, resulting in smooth and quiet wiping.
How to use Glaco Graphite Refill
Before replacement
- Stop the engine and make sure the wiper switch is OFF.
- Remove traffic film and dirt from the glass beforehand.
- Please work on the glass and body with a soft cloth or similar material to prevent scratches.
-
STEP 01
Stand the arm up.
Stand the wiper arm up and tilt the blade slightly so that the wiper rubber faces upward.
- For retractable arms, refer to the work instructions in the car manual before proceeding.

-
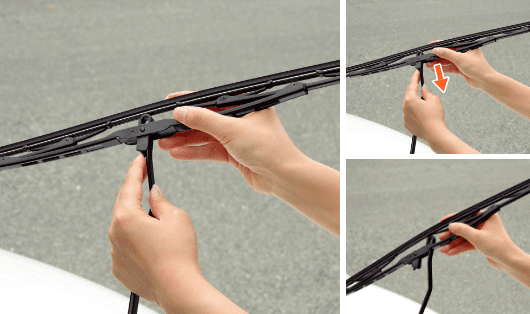
STEP 02
Remove the blade.
It is easier to remove the blade.
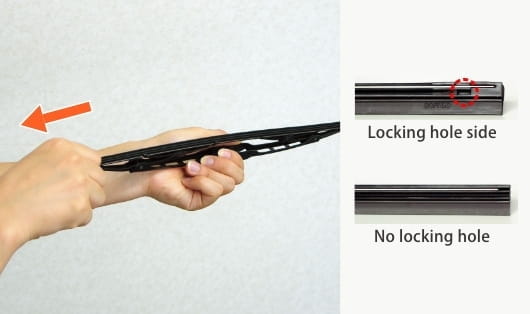
While holding the stopper of the connector, slide the blade toward you for easy removal.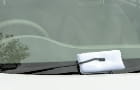
- The arm should be laid down after removal. This will prevent the glass from being damaged by accidental falling.
- The arm should be laid down after removal. This will prevent the glass from being damaged by accidental falling.
-
STEP 03
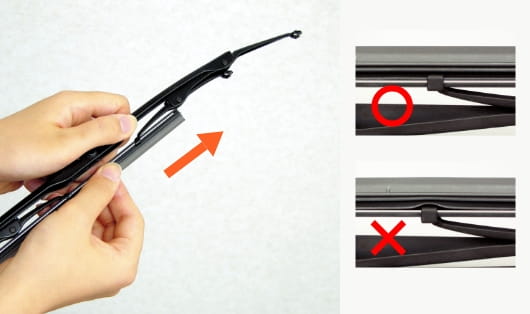
Pull out the old wiper rubber.
Grasp the side with the stopper and pull it out of the fitting with a little force.
-
STEP 04
Insert new wiper rubbers.
Now insert the claws of the metal fittings from the side without the lock holes while passing the claws through the grooves in the rubber.
-
STEP 05
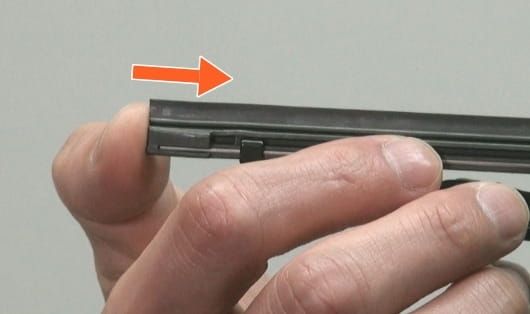
Insert the blade claws into the rubber.
Push the rubber in from the direction of the arrow until the claw enters the lock hole.
-
STEP 06
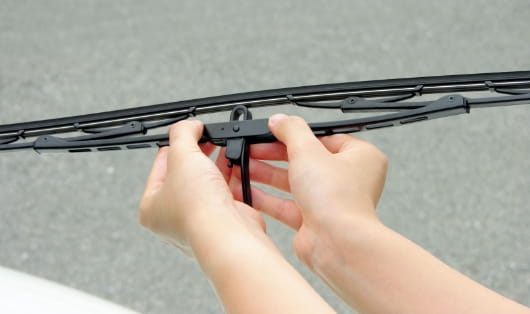
Attach the blade to the arm and you are done.
Install the blade on the arm in the reverse order of how it was removed and you are done. Make sure that the connector claws snap into the holes on the arm.
- After installation, check the wipers for proper operation just to be sure.
See other wiper products
-
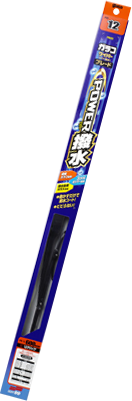
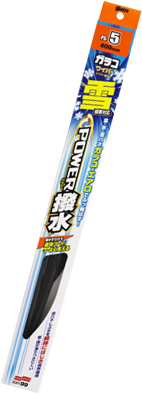
Glaco Wiper Super Water Repellent Blade
Simply wiping when the glass is dry ...
- Hydrophobicity
- Wiping power
- Aesthetics
- Economy
-

Glaco Wiper Super Water Repellent
Simply wiping when the glass is dry ...
- Hydrophobicity
- Wiping power
- Aesthetics
- Economy
-
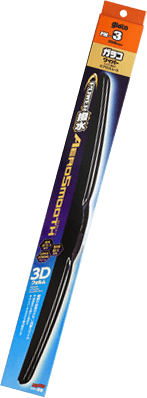
Glaco Wiper New Aero Design
This is a 3D aerodynamic wiper blade...
- Hydrophobicity
- Wiping power
- Aesthetics
- Economy
-
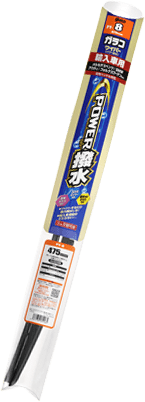
Glaco Power Blade Multi-Fit
This Glaco Wiper is specially design...
- Hydrophobicity
- Wiping power
- Aesthetics
- Economy
-
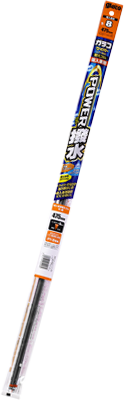
Glaco Power Blade Multi-Fit Refill
This is a replacement rubber for Gla...
- Hydrophobicity
- Wiping power
- Aesthetics
- Economy
-
Glaco Graphite Blade
Simply wiping when the glass is dry ...
- Hydrophobicity
- Wiping power
- Aesthetics
- Economy
-
Glaco Wiper Power Blade Snow Type
Glaco Wiper Power Blade Snow Type is...
- Hydrophobicity
- Wiping power
- Aesthetics
- Economy